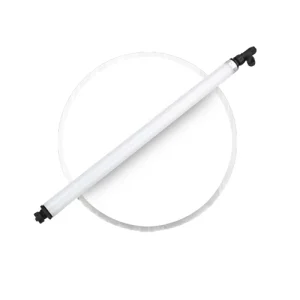
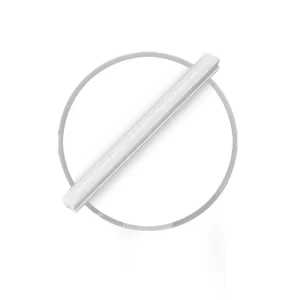
Ultra Thin LED Surface Mount
Ceiling Light
The Surface Mount Ceiling Light is a sleek and modern lighting solution designed to seamlessly integrate into any interior space. Its ultra-thin design and high-grade corrosion-resistant chassis ensure durability and longevity.

For added flexibility and customization, optional dimmable and radar versions are available. The dimmable option allows you to adjust the brightness to suit your specific needs, while the radar version offers intelligent motion sensing, automatically turning the light on and off based on occupancy.
Versatility
Available in single or multiple color temperatures, a dimmable version, and a radar version.
Customizable
Fixture is available with custom wattage and color temperature options.
Durability
Constructed with a corrosion-resistant chassis and a high-quality acrylic cover.
| Model: | LED ULTR-THIN-SM-CL |
| Wattage: | •11W |
| Lumen Output: | •900Lm |
| Lifespan: | 50,000 Hours |
| Input Voltage: | 100~265V 50/60Hz |
| Color Temperature: | •3000K~6000K |
| CRI: | >90 |
| Beam Angle: | 120° |
| Operation Temperature: | -10°C~+50°C |
| Certifications: | IP44 |
| Model: | LED ULTR-THIN-SM-CL |
| Wattage: | •18W |
| Lumen Output: | •1,350Lm |
| Lifespan: | 50,000 Hours |
| Input Voltage: | 100~265V 50/60Hz |
| Color Temperature: | •3000K~6000K |
| CRI: | >90 |
| Beam Angle: | 120° |
| Operation Temperature: | -10°C~+50°C |
| Certifications: | IP44 |
| Model: | LED ULTR-THIN-SM-CL |
| Wattage: | •25W |
| Lumen Output: | •1,750Lm |
| Lifespan: | 50,000 Hours |
| Input Voltage: | 100~265V 50/60Hz |
| Color Temperature: | •3000K~6000K |
| CRI: | >90 |
| Beam Angle: | 120° |
| Operation Temperature: | -10°C~+50°C |
| Certifications: | IP44 |
Dimensions:

Installation:
1. Ensure that master switch is off- Roate and Remove Mask/Cover.
2. Using a Screwdriver, drive screws in the 3 required areas, remove and install anchors.
3. Affix the ceiling light chassis on the wall/ceiling- screw in at required places.
4. Connect AC power lines to terminal blocks according to the diagram.
5. Insert lamp cover into lamp base- screw until locked tightly.

Accessories:
Screw + Expansion Tube