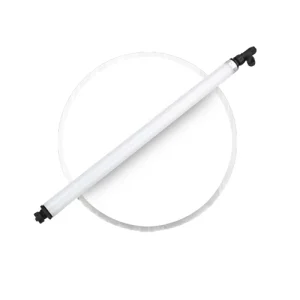
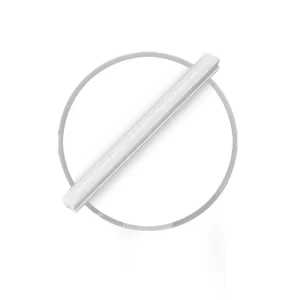
Waterproof LED
Ceiling Light
The Waterproof LED Ceiling Light is a versatile and durable lighting solution designed for various indoor and outdoor applications. The IP65 rating certifies its exceptional water resistance, making it suitable for damp or wet environments.

Whether you need to illuminate a bathroom, kitchen, garage, or outdoor patio, the Waterproof LED Ceiling Light is the perfect choice. Its sleek design, energy efficiency, and robust construction make it a reliable and stylish lighting solution.
Versatility
Either Wall or Ceiling mounted depending on the application.
Waterproof
Fixture is rated IP65 and is water/moisture proof.
Uniform Lighting
Equally distributed internal LEDs ensure that there are no dark areas to create a uniform beam of light.
| Model: | LED WTR-PROOF-CL |
| Wattage: | •12W |
| Lumen Output: | •800Lm |
| Lifespan: | 50,000 Hours |
| Input Voltage: | 100~265V 50/60Hz |
| Color Temperature: | •2700K~6500K |
| CRI: | >90 |
| Beam Angle: | 120° |
| Operation Temperature: | -10°C~+50°C |
| Certifications: | IP65 |
| Model: | LED WTR-PROOF-CL |
| Wattage: | •18W |
| Lumen Output: | •1,600Lm |
| Lifespan: | 50,000 Hours |
| Input Voltage: | 100~265V 50/60Hz |
| Color Temperature: | •2700K~6500K |
| CRI: | >90 |
| Beam Angle: | 120° |
| Operation Temperature: | -10°C~+50°C |
| Certifications: | IP65 |
| Model: | LED WTR-PROOF-CL |
| Wattage: | •30W |
| Lumen Output: | •2,400Lm |
| Lifespan: | 50,000 Hours |
| Input Voltage: | 100~265V 50/60Hz |
| Color Temperature: | •2700K~6500K |
| CRI: | >90 |
| Beam Angle: | 120° |
| Operation Temperature: | -10°C~+50°C |
| Certifications: | IP65 |
| Model: | LED WTR-PROOF-CL |
| Wattage: | •40W |
| Lumen Output: | •3,200Lm |
| Lifespan: | 50,000 Hours |
| Input Voltage: | 100~265V 50/60Hz |
| Color Temperature: | •2700K~6500K |
| CRI: | >90 |
| Beam Angle: | 120° |
| Operation Temperature: | -10°C~+50°C |
| Certifications: | IP65 |
Dimensions:

Installation:
1. Ensure that master switch is off- Roate and Remove Mask/Cover.
2. Using a Screwdriver, drive screws in the 3 required areas, remove and install anchors.
3. Affix the ceiling light chassis on the wall/ceiling- screw in at required places.
4. Connect AC power lines to terminal blocks according to the diagram.
5. Insert lamp cover into lamp base- screw until locked tightly.

Accessories:
Screw + Expansion Tube